- Sign in to the DigitalMaas Platform
- On the left side panel, click Locations. You will be directed to your Locations Overview.
- Tick the boxes to the left of the Business Names you'd like to post in. If you want to select all locations, click the tick box at the top and Select all. If you want to only select the locations on the current page, click Select current page. The plus sign and number indicate how many locations are on the page or on the Overview.
- Once you've chosen your locations, a menu will appear next to the main tickbox on top of your locations. When that appears, click Post.
- A lightbox will appear. You can now proceed to create a post.
- Choose the type of post you’d like to create:
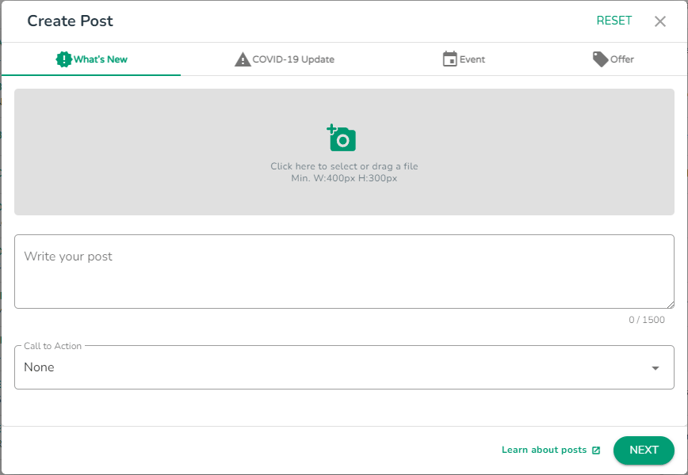
- What's New
- Provide general information about your business. You can include a photo or video, a description, and an action button. For example, a restaurant can make a post to promote a new menu item.
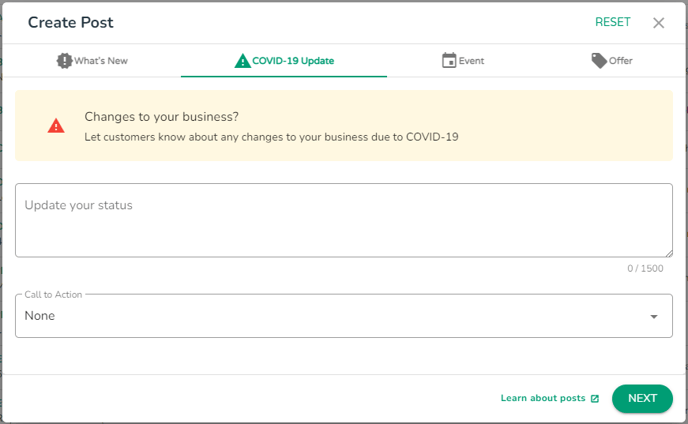
- COVID-19 Update
- Provide an update about changes related to COVID-19, which can include:
- Hours of operation and temporary closures.
- Changes to how the business operates, such as takeout or delivery only, a suggestion to call for details, or others.
- Updates on how the location manages safety and hygiene.
- Requests for support from your customers.
- Provide an update about changes related to COVID-19, which can include:
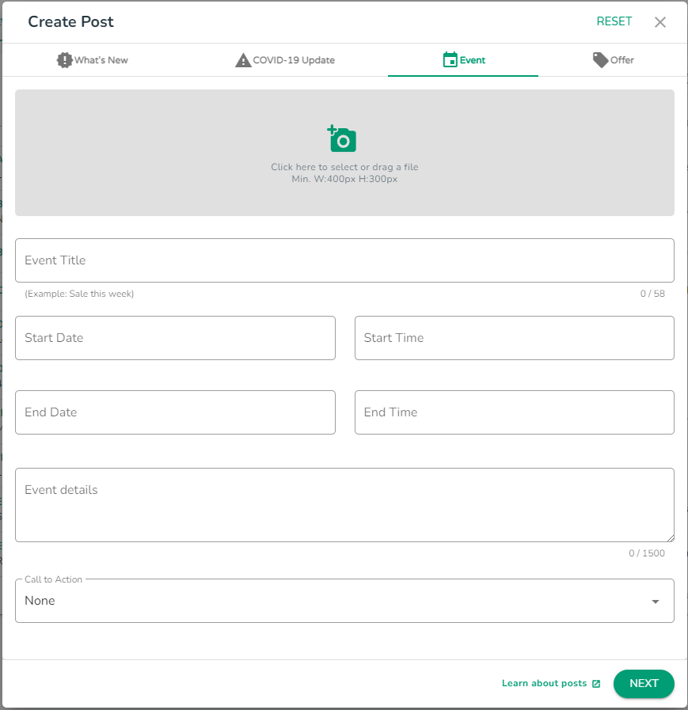
- Event
- Promote an event at your business. Events require a title, start and end dates, and a time. If there aren’t start or end times, then the system will default to 24 hours on the date it's posted. These posts may also include a photo, video, description, and an action button. For example, a bookstore may advertise a local author's book signing or a book club meeting.
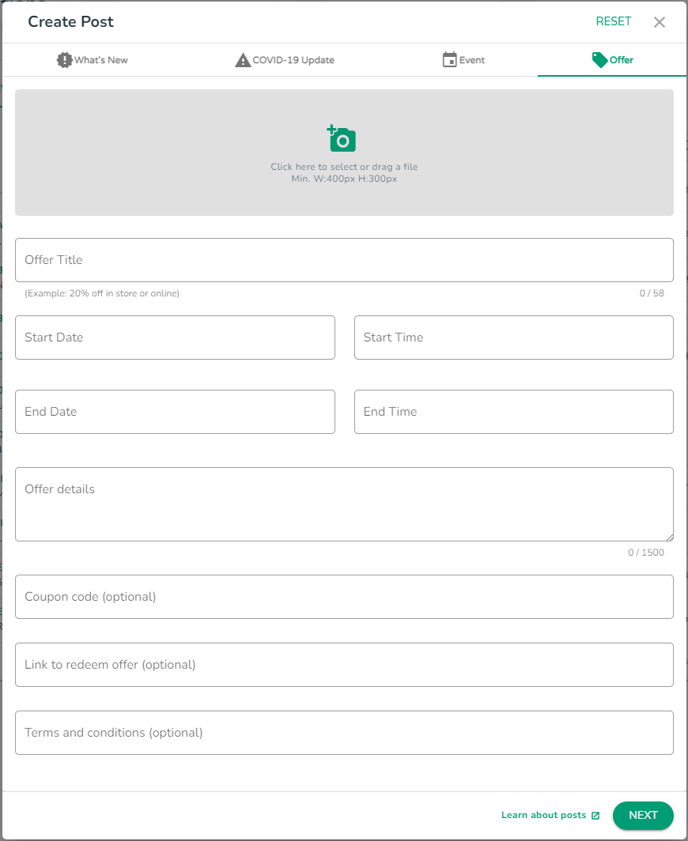
- Offer
- Provide promotional sales or offers from your business. Offers require a title as well as start and end dates and times. A "View offer" action button is automatically added to the post. You can also include a photo, video, description, coupon code, link, and terms and conditions with the post. For example, a pizza parlour may advertise 20% off large pizzas for a week.
- What's New
- Depending on your post type, fill out the necessary information. Once done, click Next.
- Before publishing, you can choose to schedule your bulk posts.
NOTE: If you do not see this feature, please contact support@digitalmaas.com to help you schedule your posts.
- Its default publishing time is set to Now. If you plan to publish your post right away, you do not have to make any changes.
- If you want to schedule your posts for a later time, click the drop-down menu and choose Later. Select the Start Date and Start Time.
- Check if you will be repeating this post on a daily, weekly or monthly basis.
- The default mode for this feature is set to Never. If you do not plan to repeat your post, you do not have to make any changes.
- If you want to publish your post on repeat, choose Daily, Weekly or Monthly from the drop-down menu. Choose the interval and time you want to repeat-publish your post.
- Once you are done with your settings, you can proceed to Publish your post. Please note that scheduled posts will be reserved for the day you intend to publish them and will not be public until then.
- You will return to your Locations Overview. There are two ways to see the status of your post:
- To see if your post is public, you can click on a location and view your Post gallery. You will know if the post is public if it has the "See it on Google" indicator on the lower right side of your post.
- You can go to your Home dashboard to check the updates of your bulk post.